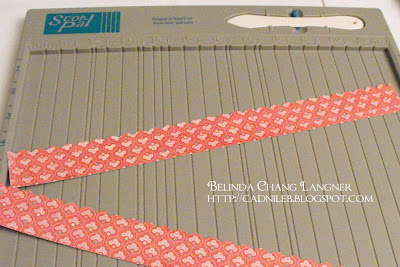
1. Cut 2 strips of paper 12 inches long with the same width. The width of the paper strips determines how large your rosette will be. As an option, you can punch the border as well.
**Note: The length of your strip along with the scoring distance will impact the tightness of your rosette. I recommend doing longer strips initially since it's easier to make the rosette (less fiddling).
2. Score the paper evenly. I use every 1/2 inch, for tighter rosettes, score more often and looser ones, less often.
3. Accordion fold both strips.
4. The final folded pieces should look like this.
5. Adhere the ends together well. Adhere glue to a small circle (where the radius is smaller than the height of your strip!!!)
5. Fold the sides inwards onto the scrap circle with glue, let the bottom fan out. Fiddle around until you get your accordion flower.
And here's a fun card that I incorporated the flower into!

I went for a more patterned paper focused card again. Now that I have even less time (with my new study schedule), patterned paper is a great way to find a fun pattern and make a quick card.


Cardstock, Stamps, Ink: PTI
Patterned Paper: (Quite Contrary) My Mind's Eye
Accents: (gems) Zva
Tools: (punch) Fiskars


Great tutorial and a beautiful card.
ReplyDeleteThanks for the tutorial - this is another one of those techniques I've been meaning to try! Love the finished card, too!
ReplyDeleteThank you for a great tutorial!
ReplyDeleteAnd a BIG congrats for making the Gallery Idol 2010 Top 20!! How cool is that?! Good luck on the next round.
Wonderful card and such a fun flower:)
ReplyDeleteLove your card, the butterfly is a fun touch to the flower!
ReplyDeleteAWESOME paper flower!!!!! going to be trying your tutorial in the future...
ReplyDeleteWow. Great tutorial. Great card. I love that flower, the butterfly, and the bling.
ReplyDelete