Thursday, November 11, 2010

Christmas Thank Yous

Before we begin, I just wanted to remind everyone that today is Veteran's Day. Thank you to those who have served, to those currently serving, and especially those who have given their lives for our country. May God Bless you and your families.

I don't know about you guys, but I still write Christmas thank you notes. My husband tells me every year that there's no need to bother but I still feel like it needs to be said. And I'll be honest, every year I forget one or two people.... but not this year as I decided to start my Christmas thank you cards early!

Maybe it's just me but I hate make the same card twice. I'm not a mass producer. If I'm using the same layout, I'll try using different colors. If I'm using the same image, I'll use different layouts.  I picked one of the images from the set Around Christmastime and did 3 different layouts with it.

One of the things I've noticed is that people tend to like interactive cards. So this year, I opted to do some as pocket cards. I used some glassine bags I have and trimmed the edges with my decorative edge scissors. And then I went to town.

They're all different in their own way -- Sometimes I inked the edges.
 
This one used a touch of a lace doily.

And who says you need a sentiment? Sometimes its the inside that counts!  (Ok and I couldn't figure out a good place to add the sentiment so sue me). 

Thanks for stopping by!


Stamps: (Around Christmastime, Frame It, Fancy Phrases) Waltzingmouse Stamps
Cardstock, Patterned Paper: PTI
Accents: (gems) Hero Arts, (doiles) Wilton, (stick pin) Making Memories
Tools: (dies) Spellbinders, (1 3/4 inch circle punch) Fiskars, (scallop border punch) Fiskars

Tuesday, November 9, 2010

Joy

Happy Hump Day everyone (or almost Hump Day, depends on when you actually read this)! Hope your week is going well so far!

Thanksgiving is fast approaching and I've finalized my Thanksgiving Menu! :) Every year I pick a somewhat healthy menu and the hubs and I battle it out. He tries to make it more fatty and I try so hard to hold my ground. 

So excited that I managed to hold my ground somewhat this year -- we'll be having a lentil and carrot salad and a butternut squash barley pilaf in lieu of bread stuffing. Some mashed taters and green beans should balance that off nicely (no matter how hard I tried, I couldn't get my hubs to let go of those for something fancier). Oh it's going to be fabulous.

I wanted to do a swiss chard and sweet potato gratin which sounded amazing, but I got talked out of it for a simple sweet potato gratin. While I know my hubs will eat swiss chard, last year, none of the other guests touched the chard - which is fine cos it's more for ME! (I adore swiss chard, actually, I adore my greens in general). However, the "me me me" mentality isn't exactly the spirit of Thanksgiving so I took out the chard (so sad).

Anyways, enough of my food woes. I have another fun card to share with you all. 

This is just another quicky card that I created using Festive Foliage. If you look closely, you'll see that the card front ends with the gold edge. The brown you see peeking through is actually the back of the card. I find these cards just kinda fun. :)

While I made this card for Christmas, it could totally work for other occassions. If you changed the sentiment, you could make this a card for any season - birthdays, thinking of you... the possibilities are endless.

Stamps: (Festive Foliage, sentiment from Vintage Ornaments) Waltzingmouse Stamps
Cardstock: (Gold, Cream, Brown) PTI
Ink: Versamark, (brown) PTI
Embossing Powder: (gold) Ranger
Fibers: (ribbon) PTI

Sunday, November 7, 2010

Waltzingmouse November Release Waltz

Welcome to the Waltzingmouse November Release Design Team Blog Waltz. Make sure to start at Claire's blog to go through the entire waltz! You should have come here from Joan's blog - if you didn't, be sure to make the rounds! There's some fabulous eye candy and prizes to be won!  This month there will be 4 fabulous sets being featured in the waltz (Vintage Ornaments, Festive Foliage, Around Christmastime. and 'Twas the Night Before Christmas)!

Remember you can win a free stamp set by leaving a comment at each blog post along the waltz, including this post! Your comment must be received by 11:59 pm EASTERN on Tuesday, November 9. One winner will be chosen from comments on Claire's blog and one winner will be chosen from comments left on one of the DT member's blogs! So leaving a comment on this blog gives you a chance to win some free goodies and by making the rounds, you can increase your chances!

I'm featuring ''Twas the Night Before Christmas today. I have a LOT of pics so bear with me! :) This is my first time making some home decor hanging but I felt that this was the perfect set to make some Christmas decorations with. So here it is hanging on my wall.

I split each verse into one piece and then tried to illustrate each piece. Each piece is die cut with a Labels 8 Spellbinders die  (I used the second to largest one). And the patterned paper is cut to 4 1/4 by 3 inches. Patterned paper and chipboard pieces are from Crate Paper.

On each image piece, I set an eyelet on the top and the bottom (this gives your cardstock more strength and I'd recommend it). Then I slowly strung the pieces onto the ribbon. I tied a knot at the bottom and tied a bow on the top. 


You can always click on a specific photo for a larger view. I know that you can't see much detail when I show three or four pieces at once so I do have individual shots for your viewing pleasure as well. I took these shots before I hung it up so there may be slight differences as I have a tendency to change my mind at the last minute.

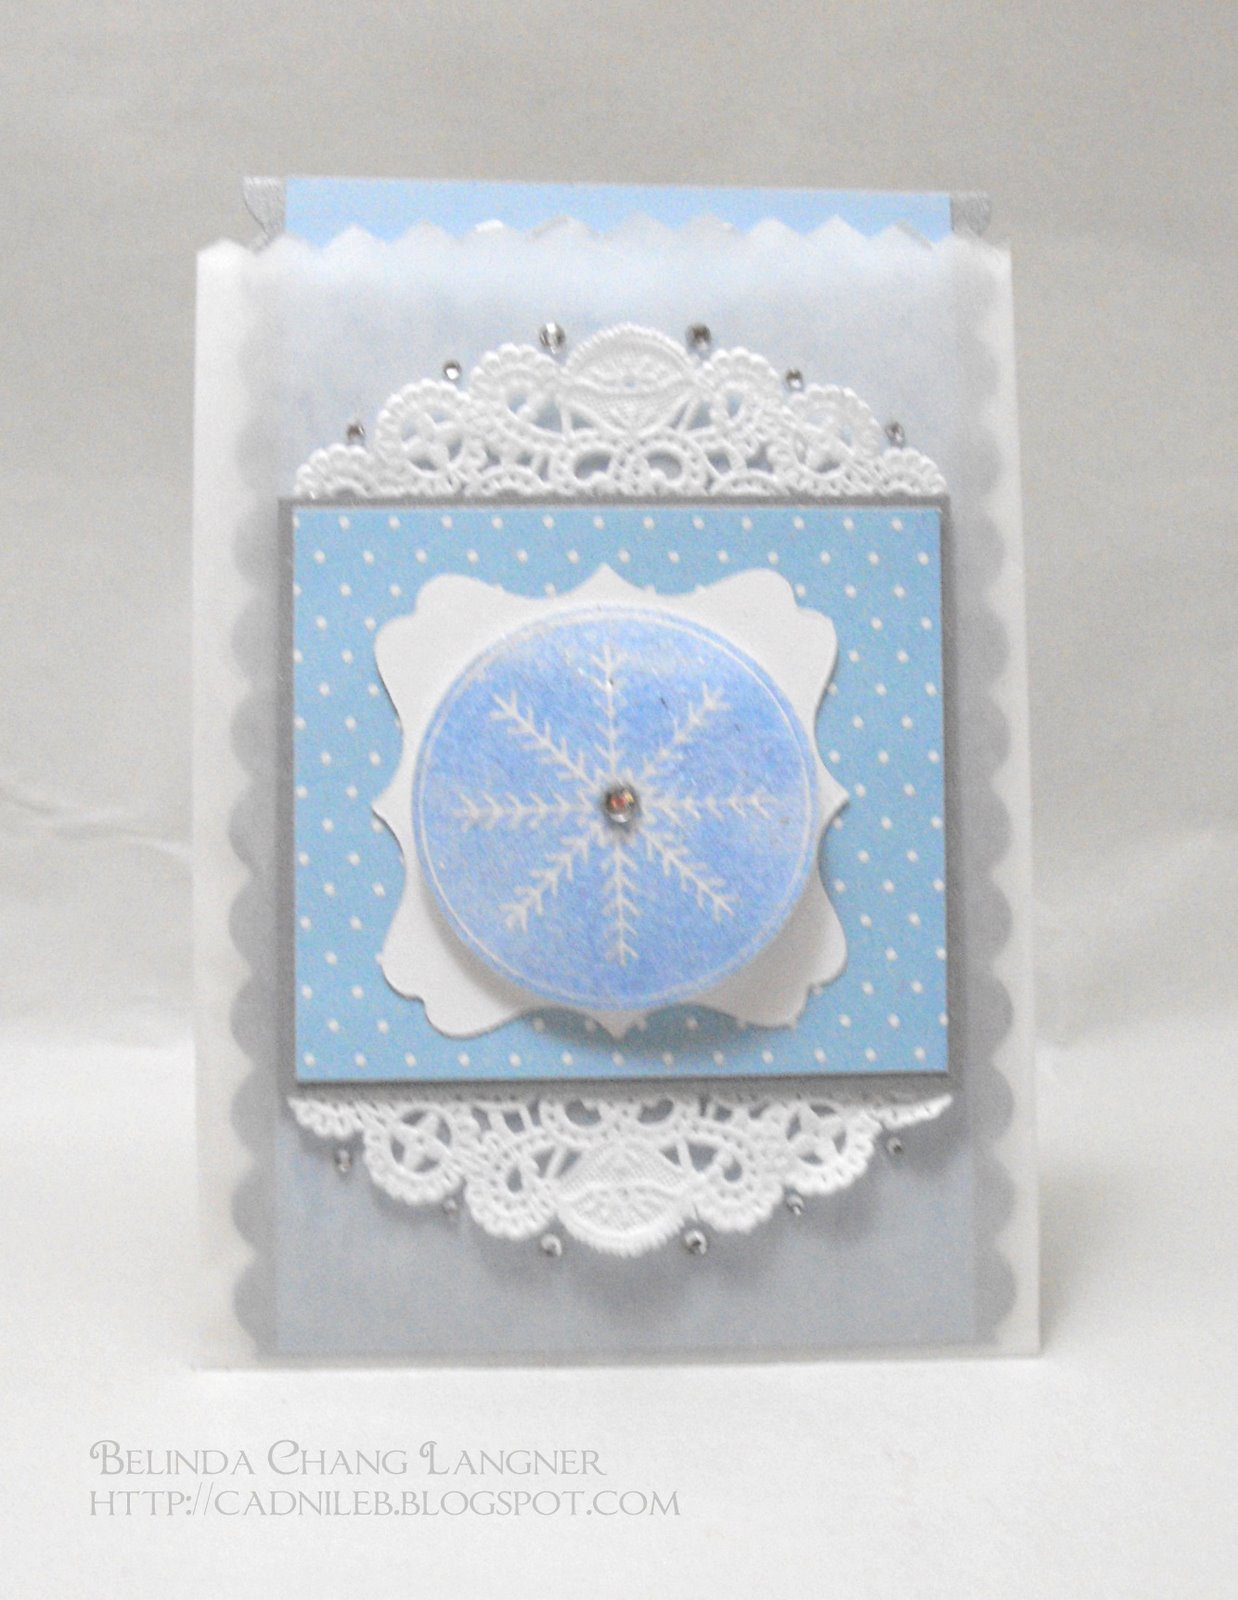
Title page - I love this little image and I thought it'd be perfect for my title page. Added a little gem to the middle of the snowflake.

"Twas the night before Christmas" - I placed some glossy accents onto the light bulbs and it adds some fun texture.

"Sugar plums" - I love the image of the sugar plums dancing so I added some gem swirls for the concept of dancing. The candy has some glossy accents on it as well and I colored the candy cane with my clear Spica glitter pen. I love the shine!

"Tore Open the Shutters" - I created my shutters a little differently than Claire but I think  hers are a little easier to do so you should follow her how-to. There's a fun little orange candle gem for the flame.

"New Fallen Snow" - Added some gems to the snowflake otherwise this is pretty self-explanatory.

"Called Them By Name" - I placed a little red gem on the reindeer nose. The trees are covered with my glossy gel pen for some texture.

"Dash Away, Dash Away All!" - There's some gems and glossy accents on the tree. The Santa image is covered with my glossy gel pen + some glitter from the clear Spica glitter pen. In my overall shots, I realized that the tree chipboard was a little too heavy and was crooked when hung. So to counter it, I did add a small clip to equalize the weight. My engineering degree put to use! The other thing you could do is add some weight to the back.

Ok that wraps up my photo-palooza of a post. Hope you enjoyed and hope you were inspired a bit!

Thanks for stopping by! Next up is the talented Bonnie Sharp - be sure to check out the fabulous things she has in store for you! :)


Stamps: ('Twas the Night Before Christmas) Waltzingmouse Stamps
Cardstock: (Dark Chocolate, Vintage Cream, Simply Chartruese) Papertrey Ink
Patterned Paper: (Snow Day) Crate Paper
Ink: Papertrey Ink, VeraMark
Embossing Powder: (white detail) Ranger
Accents: (chipboard from Snow Day) Crate Paper, (stickers from Snow Day) Crate Paper, (gems) Hero Arts, (gem swirl) Zva, (eyelets)
Coloring Mediums: (gel pen) Sakura, (glitter pen) Copic
Tools: (Glossy Accents) Ranger, Crop-A-Dile, (die) Spellbinders, (2 inch scallop circle punch, 1 3/4 inch circle punch) EK Success

Saturday, November 6, 2010

Waltzingmouse Stamps November Preview - Day 3

Welcome to the third day of the Waltzingmouse Stamps November Release previews! The DT and I will be sharing projects featuring FOUR new stamp sets that will be available for purchase at the Waltzingmouse online store starting Sunday, November 7th. You should have spied a bit of all the sets already! Any favorites so far?

Be sure to check out Claire, Anya, Bonnie, Jennifer, Joan, Julia, Laurie, Lisa, Lynn, Mona, and Sandie who all have fabulous projects to share with you! 

Today I'm going to show you something featuring the new set called Vintage Ornaments. Vintage Ornaments set is full of FIVE unique ornaments & many other images which can be mixed and matched to create a wide variety of embellishments for your projects! Of course these beautiful ornament images can be cut/embossed using the Spellbinders 2010 Heirloom Ornament die template! 

I opted to make a fun card and money holder set. I know some people think money's an impersonal gift but you know what? It's a gift that makes everyone happy. Seriously, when have YOU not been happy to get a little cash in your pocket? If you don't like to give money, you can also put a small gift card in the ornament. If you still don't like cash gifts, don't hate on those of us who do. ;-)

So let's get started... the cash holder is more fun so we'll start with that part. ;-)

Gift Card Holder
I wanted to create a fun keepsake to give money in. This way, the recipient can still use the holder as an ornament. The ornament actually holds the money/check/gift card in the back so you could also hang this on your tree until Christmas.

This idea is adapted from Martha Stewart's gift card holder. If only I had 1/2 her staff... my house would be as clean and organized as could be!


1. Die cut two pieces of felt using the largest ornament die.
2. Cut a horizontal slit in one ornament piece. (It's ok if you forget... I did... not too hard to fix later)
3. Carefully sewed the two pieces together... even I, who cannot sew a straight line managed somehow... granted, the seam ripper was my best friend for about an hour.
4. Stamp and emboss ornament image. Trim and adhere to felt ornament (on the side you DO NOT have a slit cut into)
5. Decorate as you see fit.
6. Most importantly, stuff money/check/gift card into your ornament.

This shot is to show you how I placed the money into my ornament - doesn't it fit so nicely in there? It's as snug as a bug in a rug!


Card


You can't gift a gift card/money/check without a card right? So this is just a quick card using Text It and  a fun image from the new set Around Christmastime. Also a little more glitter never hurt anyone - I covered my entire snowflake image with some fine glitter. (You can always click on any image for a larger view)

Thanks for stopping by! :) 


Stamps: (Vintage Ornaments, Around Christmastime, Text It) Waltzingmouse Stamps
Cardstock: Papertrey Ink
Fibers: (ribbon, felt) PTI
Accents: (glitter) Making Memories, (pins) JBS
Tools: (ornament die) Spellbinders, (1 3/4 inch punch) EK Success

Friday, November 5, 2010

Waltzingmouse Stamps November Preview - Day 2

Welcome to the second day of the Waltzingmouse Stamps November Release previews! The DT and I will be sharing projects over the next several days featuring FOUR new stamp sets that will be available for purchase at the Waltzingmouse online store starting Sunday, November 7th. This is such a fun release -- lots of great all-season sets and even more fun Christmas sets!

Be sure to check out Claire, Anya, Bonnie, Jennifer, Joan, Julia, Laurie, Lisa, Lynn, Mona, and Sandie who all have fabulous projects to share with you!

Today, I'm showcasing some of the fun images from Around Christmastime. There's so many fun images in this set AND they all work with your circle nesties.


I decided to make some treat bags to hold some tasty chocolates. Every year the women in my husband's family exchange gifts and every year I'm at a loss of what to make/get. I figure this year, even if my grand plan of making something homemade fails (ala, I get tired and lazy), at least part of my gift can be handmade. ;-) But it's perfect for your co-workers, your friends, your neighbors, or your classmates! :) Whatever suits your fancy!

I hate making the same thing for so many ladies so here's a few of the ones I've started.  4 down, 4 more to go. ;-)


I love this tag the best I think -- only to be given to nice people on Santa's list. ;-)


With this one, I stamped the glassine bag with the holly leaves from Festive Foliage (also being released November 7th). The tag is coated in glitter - I know a lot of people use the Xyron machine. However, since I do not own one, I just gently tap my tag in my glue pad.


A little non-traditional color wise. My husband said blech to this but I love pink.

And a fun little blue one as well. When using Brilliance ink on glossy cardstock, make sure to be patient before gluing anything (or at least heat set first!)


Hope these little goodies will be appreciated (assuming my husband doesn't eat the candy before Christmas). Thanks for stopping by!


Stamps: (Festive Foliage, Around Christmastime, Nutcracker Sweet) Waltzingmouse Stamps
Cardstock: Papertrey Ink
Ink: (bamboo leaves) Memento from Tsukineko, (blue) Brilliance from Tsukineko, (Spun Sugar, Antique Linen) Ranger, (Pure Poppy) Papertrey Ink
Accents: (ribbon) Assorted, (silver thread), (buttons) Papertrey Ink, (doilies) Wilton
Tools: (dies) Spellbinders, (1 3/4 inch circle punch, 2 inch scallop circle punch) EK Success
Other: (glassine bags)

Thursday, November 4, 2010

Waltzingmouse Stamps November Preview - Day 1

Welcome to the first day of the Waltzingmouse Stamps November Release previews! The DT and I will be sharing projects over the next several days featuring FOUR new stamp sets that will be available for purchase at the Waltzingmouse online store starting Sunday, November 7th. This is such a fun release -- lots of great all-season sets and even more fun Christmas sets!

Be sure to check out Claire, Anya, Bonnie, Jennifer, Joan, Julia, Laurie, Lisa, Lynn, Mona, and Sandie who all have fabulous projects to share with you! 

Today I'm going to feature cards from the fabulous new set called Festive Foliage.

I'm going to admit I have a love affair with gold and kraft. I also have a love affair with Perfect Pearls. My husband likes my love affair with this new medium as it means less glitter in the house... I'm sure you all can relate. ;-) 

For this one, I stamped the pine tree pieces with white pigment ink. Because pigment ink stays "wet" for a bit, I was able to carefully swipe some perfect pearl in gold onto the edges with my small paint brush. Can I say, I LOVE the look of it? The closeup shows it in much better detail.

I carried over the images onto my tag image (since its propped up with dimensional adhesive the close up view I have makes it look "off" but really its just the angle I did that camera shot). The gold strip on my tag is created with some scor-tape and gold perfect pearls (have I mentioned how attached I am to the stuff?).


When I started writing this post (at the last possible minute of course), I realized that all my cards used a combo of gold perfect pearls and kraft... to save you all from my sad obsession, I'll save those two cards for later in the week so you don't get sick of me. ;-)

Therefore, at 9pm, I scrambled to try making another set (since none of my other release projects are ready yet either..yay for procrastinators). I figured this is perfect for those of you who perhaps like to wait til the last minute to start those Christmas cards? ;-)

I took a 8.5 by 11 sheet of paper and cut it into 3 pieces of 3.5 by 8.5 giving me a card that's 3.5 by 4.25. Perfect little mini cards. I stamped and embossed the mistletoe image and colored them with my Copics. Each berry then has a gem center and I then covered the entire thing with some glossy accents. To add another bit of color, I added a border to my cards as well. 

The only thing I changed between the three cards is the sentiment - I used "kisses", "be merry" and "peace". Claire jam packed this set with images and sentiments!

Rather than bore ya'll with slightly different versions of the same card, I went ahead and made the othe two smaller. You can always click on any image on the blog for a larger view.

As a side note, since I was running late and my bedtime is normally 10pm (yes, I'm an old fart), I really wanted my glossy accents to dry so I could photograph these cards. So doing what any normal lazy person does, I used my heat gun to apply some heat. While it worked for 2 of my cards, one of them did cause some major bubbling in my glossy accents. So lesson learned - wait an hour rather than applying heat. ;-)

Thanks for stopping by today! :)


Compliments of the Season Card

Stamps: (Compliments of the Season, Festive Foliage) Waltzingmouse Stamps
Cardstock: Papertrey Ink
Ink: (white pigment, Dark Chocolate) Papertrey Ink
Ribbon: May Arts
Accents: (gold perfect pearls) Ranger


Mistletoe Card set

Stamps: (Festive Foliage) Waltzingmouse Stamps
Cardstock: (white, Pure Poppy) Papertrey Ink, (black) Bazzill
Ribbon: (twill) Papertrey Ink
Coloring Medium: Copics
Accents: (gems) Hero Arts, Glossy Accents
Tools: (border punch) Fiskars

Tuesday, November 2, 2010

Winter Wishes

Happy Voting day for those in the US! :) I'm gonna head out to vote tonight. I definitely can't wait for the ads to end -- I think I've made fun of them all already and I need new ads to make fun of. But if you haven't seen this, it's kinda funny to hear what our forefathers called each other during their election times: http://www.mentalfloss.com/blogs/archives/72589. If you thought we had it bad...


This is just a simple winter card created with some stitching. I'm sitting here in my house with some blankies around me - it's finally colder here. Our plants have been brought inside as well so it's definitely time for winter cards! :) I was just complaining to my husband how I have so many cute spring/fall coats and I get to wear them for maybe 3 days total. Sigh. Oh well!

Have a great day and get out and vote!

Stamps: (Half Baked) Waltzingmouse Stamps
Cardstock: PTI
Fibers: (floss) DMC
Accents: (chipboard mittens) Cosmo Cricket, (gems) Hero Arts
Tools: (punch) Fiskars